HOW TO USE VERSION 2.0
2. create your chronicles

Next we will see how to create our own chronicles.
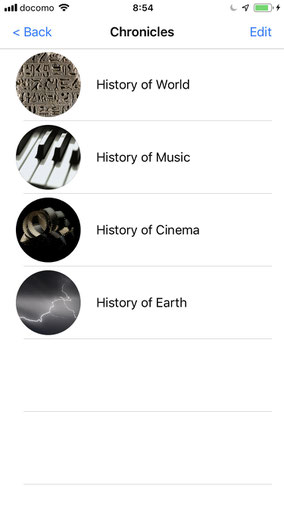
Go to the "Chronicles" screen.
Tap "Edit".
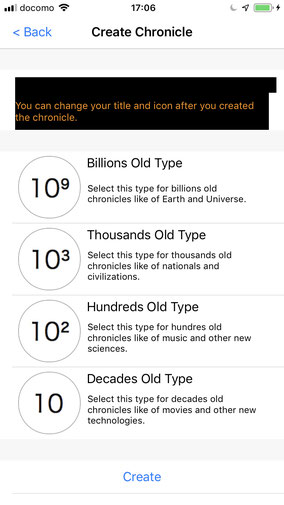
Tape "+" icon in the right top corner.

Select your chronicle type.
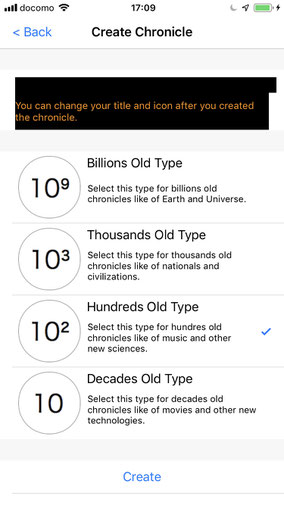
We select "Hundreds Old Type" here.
Check and tap "Create".
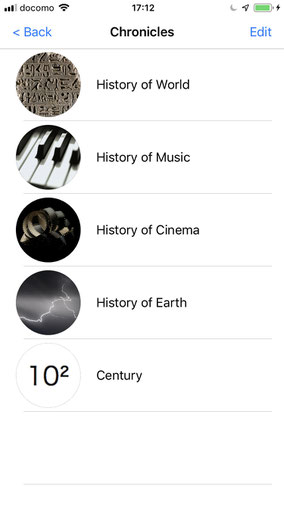
Now you got your chronicle named "Century".
In the "Edit" mode, select "Century".

Now in the "Edit" screen.
Here you can change your title and your icon.

The title has been changed.
New icon has been selected.
You can import the image of your own.

Your chronicle is listed.
Now you need to add your own data.
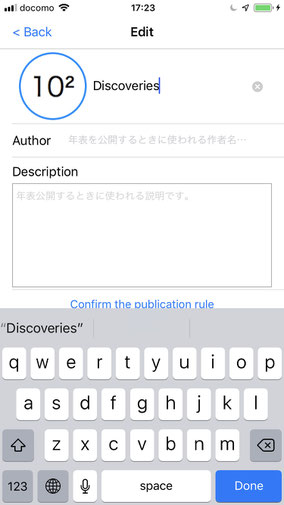
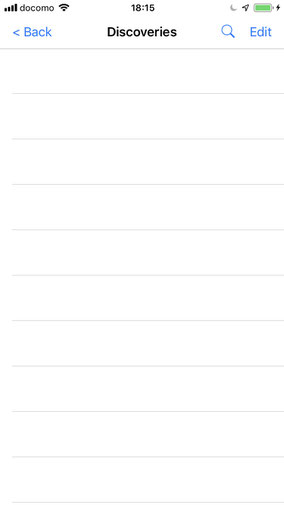
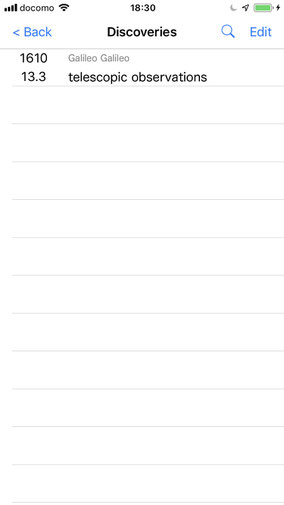
Select your "Discoveries".

Now in "Century" level of age.

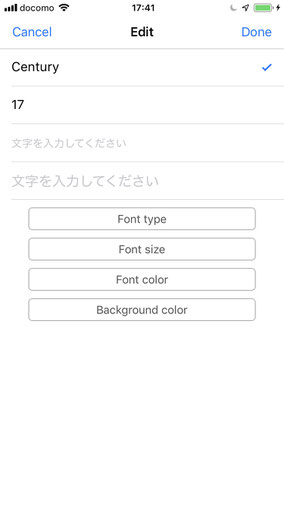
In the "Edit" mode, select "Century 17".
(sorry, the language internalization is not completed)
Enter the titles and tape "Done".
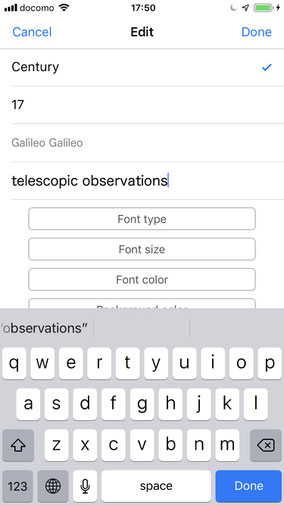
Now the new title is displayed.

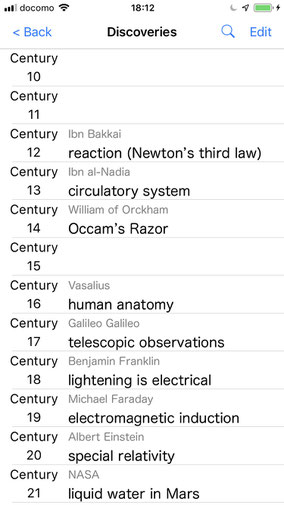
Likewise, you can enter many titles.
This is the same in all levels of age.
But in the "Day" level,
you can enter "Article" differently.
First you have no data in the "Day" level.
In the "Edit" mode, tap "+" in the right top corner.

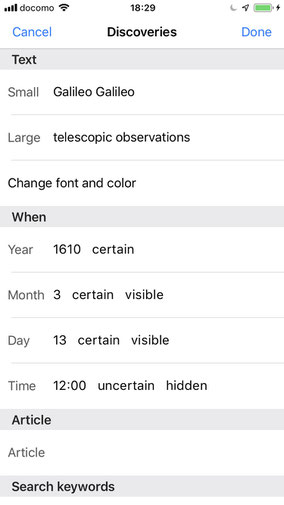
In this "Edit" screen, you can enter all the data you need.

Enter the titles.

Select the year.

Select Month and Day.
(sorry, the language internationalization is not completed)

The minimum data is now entered.
Tap "Done".
The new title is displayed in "Day" level of age.
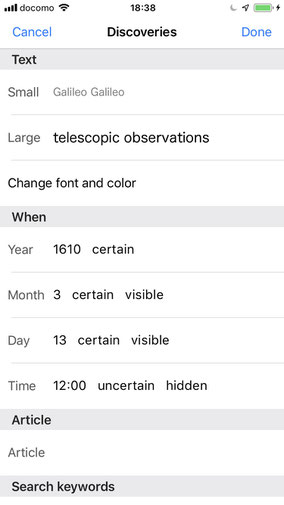
Now you need to enter more data.
Tap "Edit" and select the title.

Select "Article" next down "Time."
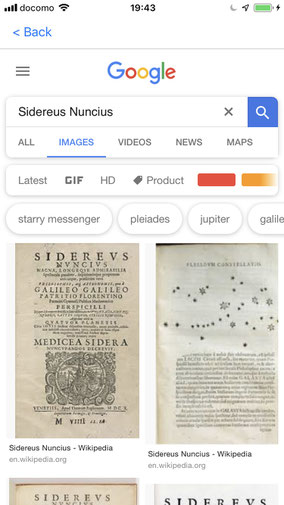
This is the screen you enter your article.

I have pasted the article from Wikipedia.
(Do not forgot to write the "Quote".)
Tap "Done" and go back.

Now proceed to enter keywords.

Keywords entered.
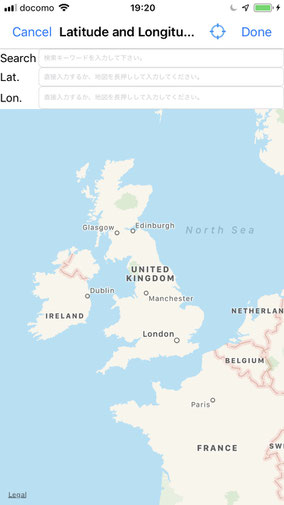
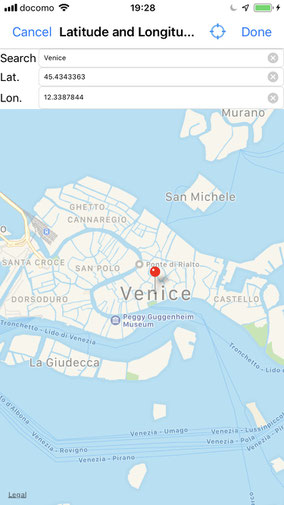
Now proceed to Map information.

Map is displayed for the Map data input.
You can enter Latitude and Longitude directly.
Or you can select the location on the map.
(sorry, the language internationalization is not completed)
This time, search the location with keyword "Venice".
Enter "venice" and tap keyboard's "Done".

Now Venice is displayed on the map.
And Lat. and Lon. is filled with numbers.
Tap "Done" in right top corner.
Now proceed "What" and "When".

"What" and "When" entered.
Tap "Done" in the right top corner.
It is done.

Let's see how the new article works.
Select the article.
The article entered is displayed.

"Wiki" button leads to here.

"Image" button leads to here.
"Video" button leads here.

"Map" leads here.

When the pin is tapped,
"When" and "What" is displayed.
(TOP screen > Map screen > select Chronicle)

Good job done !